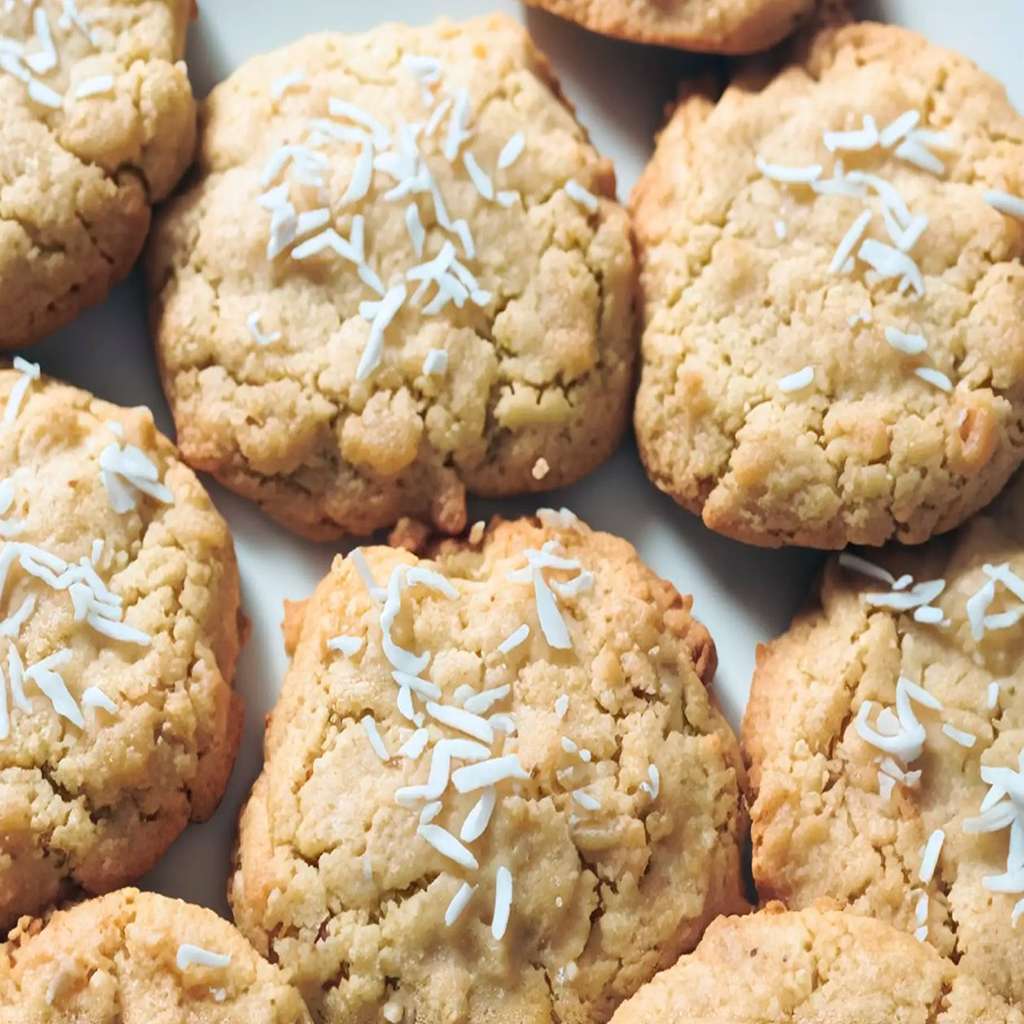
Growing up, the kitchen always smelled of something sweet—especially when my grandmother baked her famous butter cookies. But it wasn’t until I started playing with ingredients myself that I discovered the magic of brown butter and its rich, nutty flavor. Combine that with the tropical notes of sweetened coconut, and you get a cookie that’s crisp on the edges, soft in the center, and dangerously addictive.
These Brown Butter Coconut Cookies are a love letter to homemade goodness. Whether you’re hosting a winter gathering or packing treats for a summer picnic, these golden morsels fit any occasion.
Why You’ll Love These Cookies
- Rich & Buttery: Browning the butter takes the flavor to a whole new level.
- Perfect Texture: Crispy edges and soft centers, just like cookies should be.
- Tropical Sweetness: Shredded coconut adds chewiness and natural sweetness.
- Easy to Make: Simple pantry ingredients and no fancy equipment needed.
- Make-Ahead Friendly: Store or freeze the dough for cookie cravings any time.
Ingredients (Makes about 24 cookies)
- 1 cup unsalted butter
- 1¼ cups granulated sugar
- 1 large egg
- 1 teaspoon vanilla extract
- 2 cups all-purpose flour
- ½ teaspoon baking soda
- ½ teaspoon salt
- 1½ cups sweetened shredded coconut
Prep Time: 15 minutes
Chill Time: 30 minutes
Bake Time: 10–12 minutes
Total Time: 55 minutes
How to Make Brown Butter Coconut Cookies
Step 1: Brown the Butter
In a medium saucepan, melt the butter over medium heat. Stir constantly until the butter foams, then turns golden and releases a nutty aroma. Immediately remove from heat and pour into a bowl to cool slightly.
Tip: Don’t walk away—brown butter can turn to burnt butter quickly.
Step 2: Mix the Wet Ingredients
Once the brown butter is warm (not hot), beat in the sugar until well combined. Add the egg and vanilla extract. Mix until smooth and glossy.
Step 3: Combine the Dry Ingredients
In a separate bowl, whisk together the flour, baking soda, and salt. Slowly mix the dry ingredients into the wet, stirring until just combined.
Step 4: Fold in the Coconut
Gently fold in the shredded coconut. The dough will be soft and slightly sticky.
Step 5: Chill the Dough
Cover the dough and refrigerate for at least 30 minutes. Chilling helps the flavors develop and prevents the cookies from spreading too much.
Step 6: Bake to Golden Perfection
Preheat oven to 350°F (175°C). Line baking sheets with parchment paper. Scoop tablespoon-sized balls of dough and place them 2 inches apart.
Bake for 10–12 minutes, or until the edges are golden and the centers look set. Let cool on the tray for 5 minutes before transferring to a wire rack.
Serving Suggestions
These cookies are divine on their own, but you can also:
- Pair with a glass of cold milk or a coconut latte
- Serve alongside a fruit platter for a brunch table
- Crumble over vanilla ice cream for a decadent dessert
Variations & Tips
- Add a Twist: Mix in a handful of chopped white chocolate or toasted almonds.
- Make it Dairy-Free: Use a dairy-free butter alternative that browns well.
- Store Smart: Keep cookies in an airtight container at room temp for up to 5 days—or freeze the dough for up to 3 months.
- Smaller Batch? Halve the ingredients and follow the same steps.
Why Brown Butter?
Brown butter isn’t just melted butter—it’s caramelized magic. The milk solids toast and deepen in flavor, adding a nutty, toffee-like richness that elevates any baked good. In these cookies, it balances the coconut’s sweetness perfectly, making each bite complex and satisfying.
External Links for Baking Inspiration
- How to Brown Butter Perfectly
- Coconut Baking 101
- Cookie Baking Tips from the Pros
- Why You Should Chill Your Cookie Dough
Final Notes
These Brown Butter Coconut Cookies are everything a cookie should be: rich, chewy, crisp-edged, and deeply flavorful. Whether you’re baking for a party, a sweet snack stash, or simply to fill your home with that nostalgic aroma of baked coconut and butter—this is your go-to recipe.
Made Them?
Tag your creations with #cookieheaven and #bakingjoy—I’d love to see your sweet successes!

